Remove tape-in extensions safely without hair breakage
The moment you try to pull a tape-in weft out of your hair without anything to dissolve the bond, you learn exactly why salons charge for removal. The adhesive that held your extensions securely for six to eight weeks does not care that you are tired of them, that you want to shower without braiding first, or that you are overdue for a reapplication. It grips each strand it touches with the quiet stubbornness of a polymer designed to survive sweat, oil, and weekly washing — and when you pull against it, the hair loses. Not the extension hair, which is replaceable, but your natural hair, which is not. A single rushed removal can snap dozens of strands at the bond point, leave adhesive gunk welded to your roots for weeks, and create thin, patchy areas that take months to grow back. The good news is that none of this needs to happen. Safe removal is not a mystery or a skill reserved for professionals — it is a process that requires the right solvent, patience measured in minutes rather than seconds, and a willingness to let chemistry do the work that your hands cannot.
Why tape-in adhesive is so difficult to remove
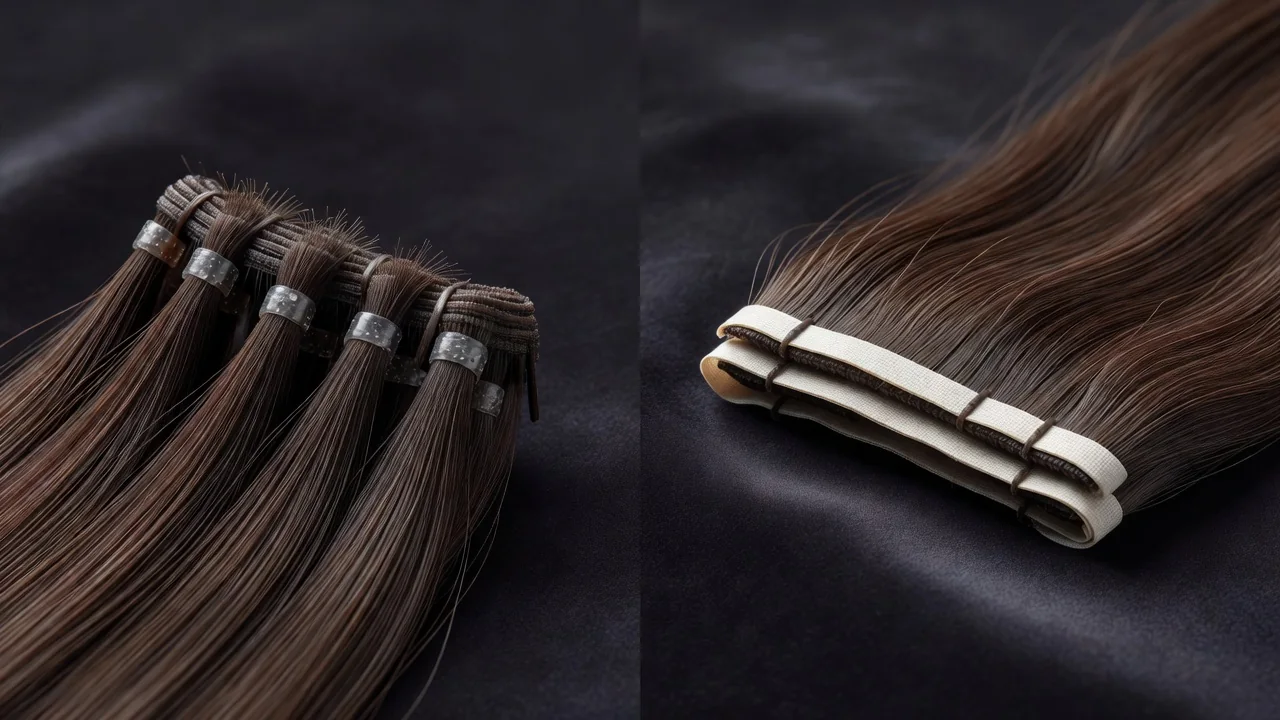
Understanding what makes the adhesive stubborn is the first step to removing it safely. Tape-in extensions use a medical-grade acrylic polymer adhesive — the same category of adhesive used in surgical bandages and wound closures. This is not accidental: the adhesive must hold human hair against a scalp that produces oil, sweat, and heat for weeks at a time, and it must do so without causing irritation. The result is a bond that is remarkably strong under normal conditions but designed to break down when exposed to specific solvents.
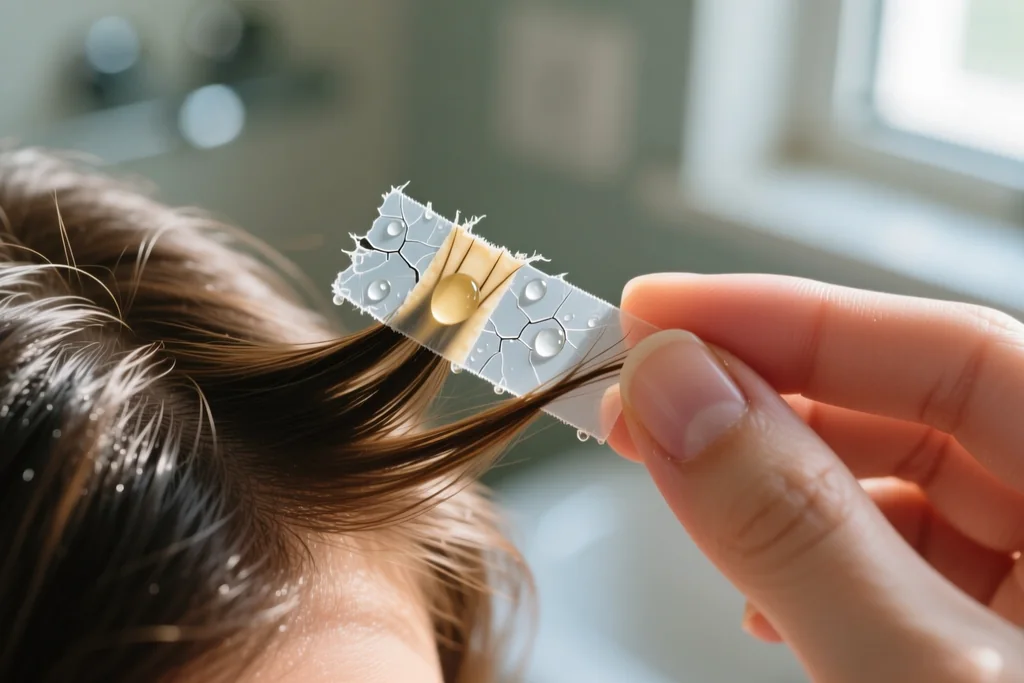
The polymer achieves its grip through a combination of mechanical interlocking and surface adhesion. When the adhesive contacts the hair cuticle, it flows into the microscopic ridges and scales of the cuticle surface, creating a mechanical lock that strengthens as the adhesive cures over 48 hours. The bond is not just sticky — it is physically interlocked with the structure of each strand. Pulling the weft without dissolving the polymer does not break the adhesive; it breaks the hair, because the hair shaft is weaker than the adhesive-to-cuticle bond.
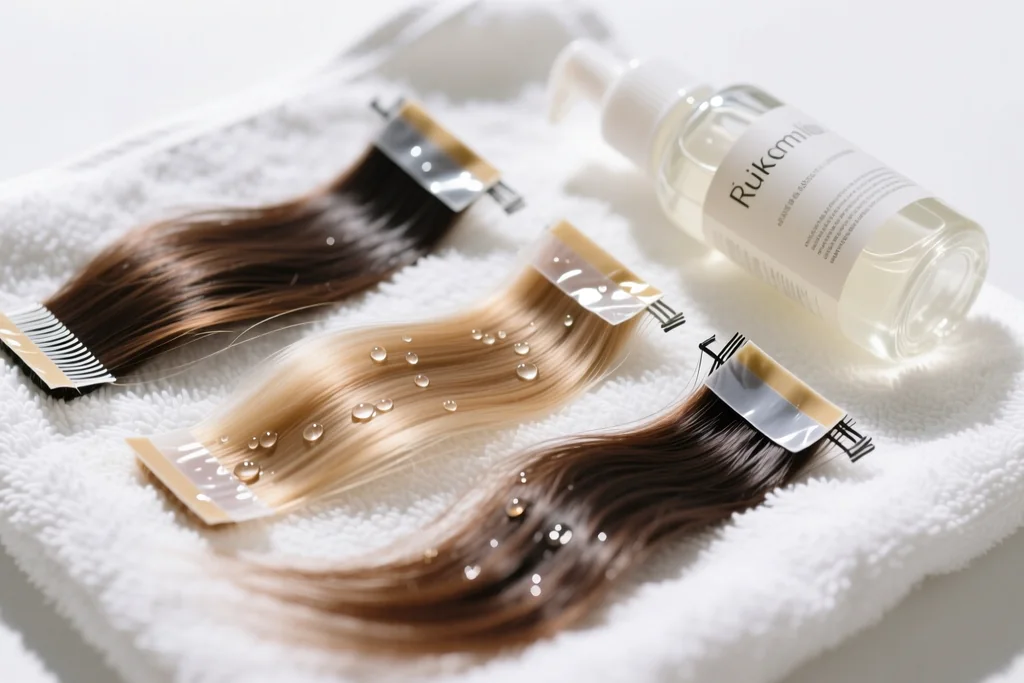
The solvents that break down acrylic polymer are specific. Citrus-based solvents (containing d-limonene) and alcohol-based solvents (containing isopropyl or ethyl alcohol) penetrate the polymer matrix and disrupt the molecular chains that give the adhesive its strength. Once the solvent penetrates, the polymer softens from a rigid solid to a gel-like consistency that releases the cuticle surface without pulling. The process takes time — typically 2 to 5 minutes per weft — because the solvent must penetrate through the full thickness of the adhesive layer, which is compressed between two wefts in a sandwich bond.
What does not work: common removal substitutes that cause damage
The temptation to use what you already have at home is strong, and it is the cause of most removal-related hair damage. Olive oil, coconut oil, baby oil, and any oil-based product will eventually weaken the adhesive — but over hours, not minutes, and the amount of oil needed to penetrate the bond saturates the natural hair, leaving it greasy for days and potentially clogging follicles. Oil does not dissolve acrylic polymer efficiently; it slowly degrades it through prolonged contact, and the extended soaking required weakens the natural hair shaft in the process.
Acetone and nail polish remover dissolve the adhesive quickly — but they also dissolve the hair cuticle. Acetone is a harsh organic solvent that strips the protective lipid layer from the hair shaft, leaving it brittle, dry, and prone to breakage. Using acetone on tape-in bonds is the fastest way to remove the extensions and the fastest way to ruin the natural hair underneath.
Hot water softens the adhesive temporarily but does not dissolve it. The bond re-hardens as it cools, and the weft remains attached. The combination of hot water and pulling is particularly damaging because the hair is most vulnerable when wet and warm — the cuticle is swollen and the hair shaft is more elastic, which means it stretches and snaps under tension rather than releasing cleanly.
What you need before you begin
The removal process requires specific tools and products. Having everything ready before you start prevents the most common mistake: beginning removal and then searching for a tool while solvent is drying on a bond that needs immediate attention.
A dedicated tape-in extension removal solution is the one item you cannot substitute. These solutions are formulated specifically to break down acrylic polymer adhesive without damaging the hair cuticle. They are available in two types: citrus-based (clear, oily texture, d-limonene as active ingredient) and alcohol-based (clear, watery texture, isopropyl alcohol as active ingredient). Both work; the citrus-based solution is gentler on the hair and scalp but takes slightly longer, while the alcohol-based solution works faster but dries the hair more.
Beyond the solution, you need a fine-tooth comb for removing residue after the wefts are out, a wide-tooth comb for detangling the natural hair post-removal, a mirror set (wall and hand-held) for seeing the back of the head, sectioning clips to keep hair organized, cotton pads or a microfiber cloth for blotting excess solvent, and a clarifying shampoo for the post-removal wash. A bowl of warm water is useful for rinsing your fingers between wefts, as the solvent makes them slippery.
The removal process: step by step
The process is methodical and sequential. Each weft is removed individually, and the process is the same for every weft — the difference between a clean removal and a damaged one is not in the technique but in the patience. Rushing any step is the primary cause of breakage.
Step 1: Section and isolate the first weft
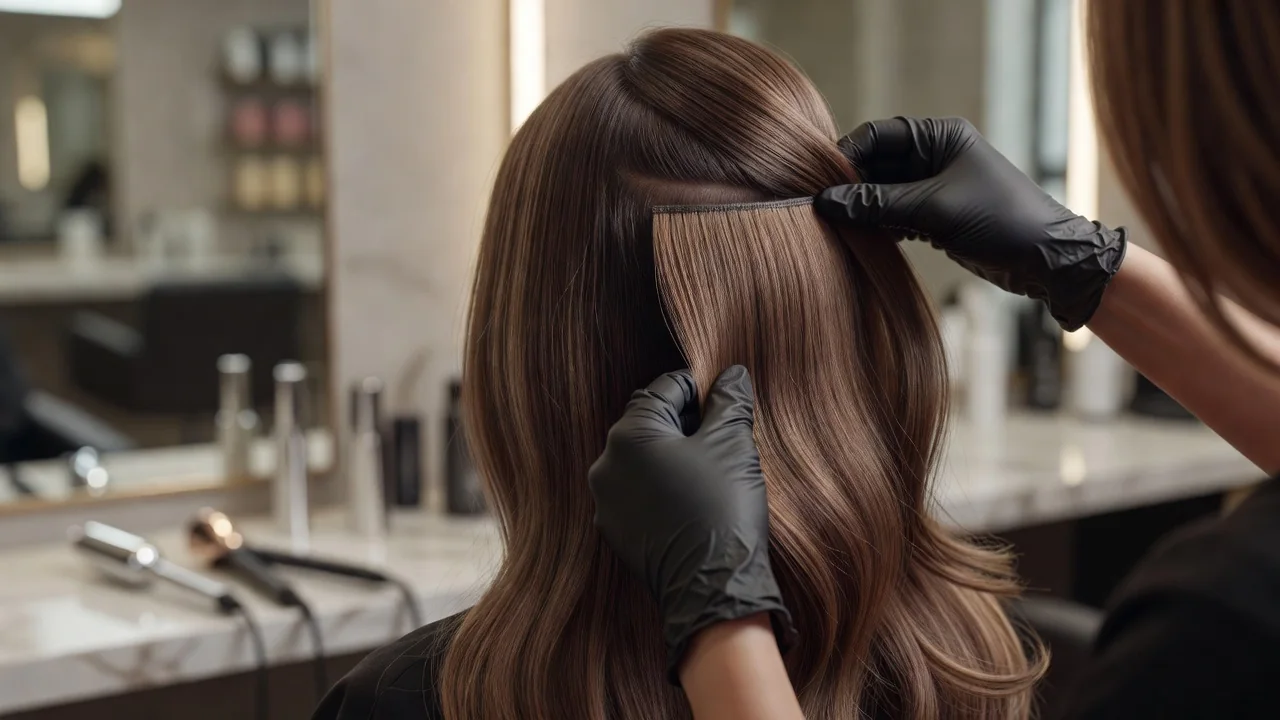
Begin at the nape of the neck, where the bottom row of wefts is located. Use your fingers or the tail of a fine-tooth comb to locate the first bond — you will feel the edge of the weft as a flat, slightly raised tab against the scalp. Part the hair around the weft and clip all surrounding hair away so the bond is fully exposed and accessible from both the top and bottom. You need to be able to see and reach both sides of the sandwich bond — the top weft and the bottom weft — because the solvent must penetrate both.
Step 2: Apply the removal solution generously
Saturate the bond with removal solution. Apply from the top first, allowing the solution to seep into the adhesive layer, then flip the section and apply from the bottom. The solution should drip slightly — you want the bond fully soaked, not lightly misted. A common mistake is applying too little solvent, which partially softens the adhesive without fully releasing it, creating a situation where the weft feels loose but is still bonded at points that snap hair when pulled.
Wait. This is the step that most home removers skip and that causes the most damage. After applying the solution, wait 2 to 5 minutes — set a timer if you need to. The solvent needs time to penetrate through the full thickness of the adhesive and to break down the polymer chains that are interlocked with the cuticle. You will know the solvent is working when the bond feels slightly tacky but no longer rigid — the weft should move slightly when you gently tug the edge.
Step 3: Gently slide the weft downward
Do not pull. Do not yank. Do not rip. The word is slide. Take the top edge of the weft between your thumb and forefinger and gently slide it downward, in the direction of natural hair growth. If the weft resists, stop. Apply more solution and wait another minute. A weft that is ready to release slides off with almost no resistance — the hair passes through the softened adhesive the way a ribbon slides through fingers. A weft that resists is still bonded, and forcing it will break hair.
If the weft has been in for longer than 8 weeks, the adhesive may have hardened beyond what a single application of solvent can dissolve. In this case, apply solution, wait 3 minutes, gently work the edge, apply more solution to the exposed part of the bond, and wait another 2 minutes. Patience is the technique — the solvent is the tool.
Step 4: Repeat for each weft, working upward
Remove wefts row by row, working from the nape upward to the crown. After each weft is removed, set it aside — do not discard it yet, as reusable wefts need to be cleaned of adhesive residue before reapplication. Move to the next weft in the same row, then move up to the next row.
The back of the head is the most challenging area because you cannot see it directly. Use the hand mirror positioned to reflect the back of the head in the wall mirror. If you cannot see the bond clearly, feel it with your fingers — the edge of the weft is distinct from natural hair, and you can trace the full width of the bond by touch to ensure the solvent reaches both sides.
Step 5: Check for remaining adhesive residue
After all wefts are removed, run your fingers through your hair from root to mid-length, feeling for sticky patches. The adhesive often leaves residue on the natural hair — a tacky, slightly rubbery film that clings to individual strands. This residue is normal and does not damage the hair, but it must be removed before the hair can be washed and styled normally. If left, the residue attracts dirt and oil, mats the hair, and makes future extension application difficult because the new adhesive will not bond to hair that has old adhesive residue.
Dealing with stubborn adhesive residue
Adhesive residue is the part of removal that takes the longest and tests the most patience. The wefts may come out cleanly if the solvent has done its work, but some bonds — particularly those that were heated during application or that have been in place for the full 8 weeks — leave a film of polymer that clings to the hair like rubber cement.
To remove residue, apply removal solution directly to the sticky area and work it between your fingers, gently rubbing the residue off the hair strands. The solution breaks the polymer down further, and the mechanical action of your fingers rolls the residue off the cuticle. For stubborn patches, apply solution, wait 1 to 2 minutes, then use the fine-tooth comb to gently comb through the area — the comb teeth catch the softened residue and pull it away from the hair.
The post-removal wash
Once all residue is removed, wash your hair twice with clarifying shampoo. The first wash removes solvent and loosened adhesive; the second wash removes any remaining film and prepares the hair for conditioning. Do not use hot water — warm water is sufficient and less drying. Apply shampoo to the roots and scalp, and let the suds run down the length of the hair. Do not scrub or rub the hair aggressively — the hair is vulnerable after weeks under tension from the wefts, and aggressive washing can cause breakage.
After the second wash, apply a deep conditioning treatment to the mid-lengths and ends — not the roots, where the bonds were. The hair needs moisture after weeks of restricted washing and the drying effect of the removal solvent. Leave the treatment in for 5 to 10 minutes, then rinse with cool water to seal the cuticle.
Understanding what happens to your hair during removal
The removal process reveals hair that has been hidden under wefts for 6 to 8 weeks, and what you see can be alarming if you are not prepared. Shedding is the most common source of panic — after removal, you will see what appears to be a large amount of hair coming out during brushing and washing. This is not breakage; it is accumulated shed hair.
Human hair naturally sheds 50 to 100 strands per day. When extensions are in place, the shed hairs are trapped at the bond point — they cannot fall out because the adhesive holds them along with the rest of the hair. Over 6 weeks, this amounts to 2,100 to 4,200 strands of naturally shed hair that has been held in place by the wefts. When the wefts are removed, all of this accumulated shed hair is released at once, and it looks like clumps of hair falling out.
To distinguish between shed hair and broken hair, examine the ends of the strands. Shed hair has a small white bulb at the root end — the hair papilla that is naturally released when the hair completes its growth cycle. Broken hair has no bulb — the end is ragged or blunt, indicating that the strand was snapped rather than naturally shed. Seeing bulbs is normal and expected; seeing ragged ends without bulbs is a sign that the removal caused breakage and that the technique needs to be gentler next time.
Mistakes that cause breakage during removal
Even with the right solvent and the right process, specific errors during removal cause hair damage. These errors are not random — they follow patterns that repeat across home removals, and recognizing them is the most effective way to prevent them.
Before you begin removing your extensions, familiarize yourself with the most common removal mistakes so you can avoid each one deliberately.
Removal mistakes that cause hair breakage:
- Pulling wefts without fully dissolving the adhesive — the single most damaging mistake. If the weft resists when you try to slide it, the bond is still active. Pulling a partially dissolved bond snaps hair at the cuticle-adhesive interface. Always wait longer rather than pull harder.
- Using oil instead of dedicated removal solution — oil takes hours to weaken the adhesive and saturates the hair shaft, weakening it structurally. The extended soaking time increases the window during which hair is vulnerable to mechanical damage.
- Rushing through the waiting period — the solvent needs 2 to 5 minutes per weft to fully penetrate. Checking after 30 seconds and pulling because the weft "feels loose" is the cause of partial bond failure and patchy breakage.
- Removing wefts from wet hair — water swells the cuticle and makes the hair shaft more elastic and vulnerable. Hair wet from a shower or from sweat is significantly more likely to break during removal than dry hair.
- Using a comb to force a stuck weft out — inserting a comb between the weft and the scalp to pry the bond open applies concentrated force to a small number of strands. The comb acts as a lever, and the mechanical advantage multiplies the force on the hair, causing clean breaks.
- Removing all wefts in one session without breaks — the process takes 60 to 90 minutes for a full head, and fatigue leads to rushing. If your hands are cramping or your patience is thinning, take a 10-minute break. The solvent on remaining wefts will continue working during the break, making subsequent removals easier.
- Reusing wefts without cleaning adhesive residue — if you plan to reapply the wefts, old adhesive residue on the tabs prevents new adhesive from bonding and creates uneven, lumpy bonds that are more difficult to remove next time. Clean wefts thoroughly before reapplication.
- Washing with hot water immediately after removal — the hair is in a vulnerable state after weeks under tension and solvent exposure. Hot water opens the cuticle further and increases the risk of damage. Wash with warm water and finish with a cool rinse.
Each of these mistakes is preventable with the same approach: slow down, use the right product, and let the solvent do the work. The adhesive was designed to be dissolved — the solution was designed to dissolve it — and the only thing that causes damage is the human impulse to hurry a process that requires patience.
Cleaning wefts for reapplication
If your extensions are human hair and in good condition, they can be reused 2 to 3 times. Reusable wefts represent significant cost savings, but only if they are properly cleaned and prepared for reapplication. A weft with old adhesive residue cannot accept new adhesive tabs — the residue creates an uneven surface that prevents the new adhesive from bonding to the weft base.
To clean wefts for reapplication, lay them flat on a clean surface with the adhesive side facing up. Apply removal solution to the old adhesive tabs and let it sit for 3 to 5 minutes. Use your fingers or a flat tool — the back of a comb handle works — to gently scrape the softened adhesive off the tab. The adhesive should roll off in small pieces as the solvent breaks it down. For stubborn residue, apply more solution and repeat.
Once the tabs are clean, wash the wefts with a sulfate-free shampoo, rinse thoroughly, and let them air-dry completely on a flat surface. Do not use heat to dry them — heat can warp the weft base and damage the hair. Once dry, apply new adhesive tabs to the cleaned weft base, press firmly, and store the wefts flat until reapplication.
How long removal should take
The time required for a full removal varies with the number of wefts, the age of the installation, and the experience of the person removing them. A full head of 30 to 40 wefts takes 60 to 90 minutes for a first-time home remover and 30 to 45 minutes for someone who has done it before. The time is dominated not by the physical removal — which takes seconds per weft — but by the waiting period for the solvent to work.
Rushing the timeline is the most expensive shortcut in extension maintenance. A removal that should take 75 minutes, compressed into 30 minutes by skipping waiting periods and pulling wefts that are not fully dissolved, results in breakage that takes 3 to 6 months to grow out — and that may require professional repair or even a shorter haircut to address. The math is simple: 45 extra minutes of patience versus 3 to 6 months of regrowth.
Comparing removal methods: what works and what damages
Different approaches to removing tape-in extensions have different outcomes for hair health, and understanding the trade-offs helps choose the safest method.
The choice of removal method determines not only how quickly the extensions come out but also the condition of the natural hair afterward.
| Removal method | Time per weft | Effectiveness | Risk of breakage | Residue left | Best for |
|---|---|---|---|---|---|
| Citrus-based removal solution | 3–5 min | High | Very low | Minimal | All hair types; safest option |
| Alcohol-based removal solution | 2–3 min | High | Low (drying) | Minimal | Quick removal; oily hair |
| Oil soaking (olive, coconut) | 30–60 min | Moderate | Moderate | High (oily residue) | Emergency only; not recommended |
| Acetone / nail polish remover | 1–2 min | High | High (cuticle damage) | Moderate | Never recommended |
| Hot water + pulling | 5–10 min | Low | High (wet hair breaks) | High (re-hardened adhesive) | Never recommended |
| Dry pulling (no solvent) | N/A | N/A | Extreme | Full adhesive remains | Never recommended |
| Professional salon removal | 2–4 min per weft | High | Very low | Minimal | First-time removal; complex installs |
The pattern across these methods is consistent: the methods that take longer are gentler, and the methods that are fast cause damage. The only exception is professional salon removal, which is fast because the stylist has practiced the technique hundreds of times and knows exactly how much solvent to apply and how long to wait. For home removal, the citrus-based solution is the safest choice — it takes a few minutes longer per weft but produces the least breakage and the least residue.
Caring for your hair after removal
The period immediately after removal is when the natural hair is most vulnerable and most in need of care. The hair has been under tension from the wefts for 6 to 8 weeks, the cuticle has been compressed under adhesive, and the scalp has been covered and potentially congested. Post-removal care focuses on three goals: restoring moisture, detangling accumulated shed hair, and giving the scalp and hair a recovery period before the next installation.
Moisture restoration
The removal solvent, particularly alcohol-based solutions, strips moisture from the hair. A deep conditioning treatment applied immediately after the post-removal wash begins the restoration process. For the first week after removal, use a moisturizing conditioner every time you wash, and apply a leave-in conditioner to the mid-lengths and ends. Avoid protein treatments in the first week — protein strengthens hair but can make it brittle if applied to hair that is already dry from solvent exposure. Moisture first, protein later.
Detangling accumulated shed hair
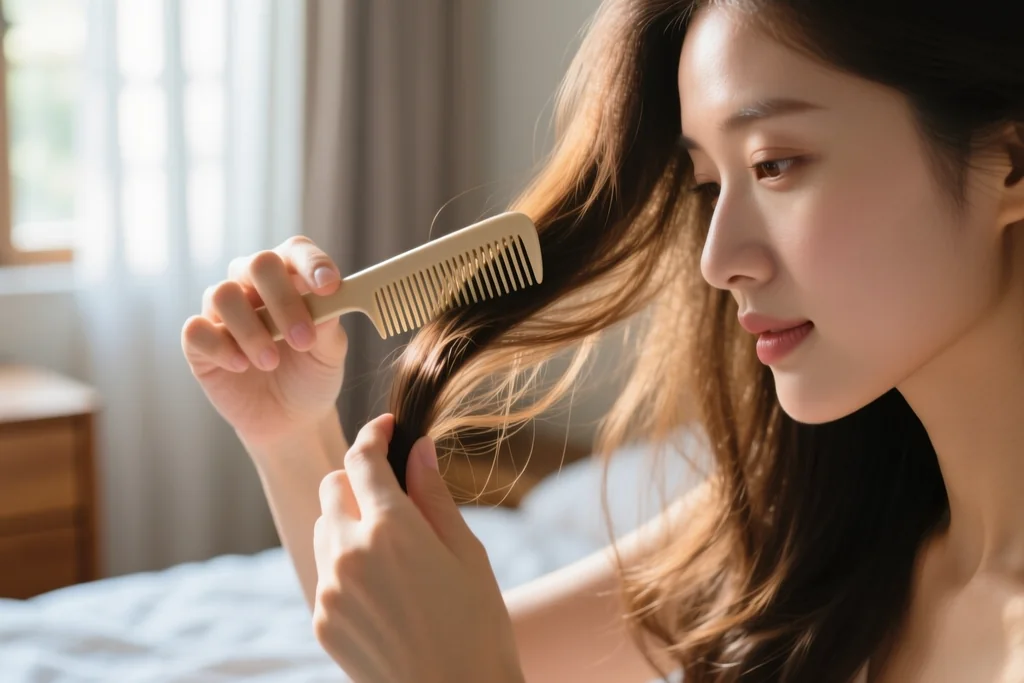
The shed hair released during removal can tangle with surrounding hair, creating mats near the root area where the bonds were. Detangle gently with a wide-tooth comb, starting at the ends and working upward. Do not use a brush — brushes catch on tangles and pull, causing breakage. If you encounter a mat, apply conditioner or detangling spray, hold the hair above the mat to support it, and gently work through with the comb. Patience here prevents the breakage that aggressive detangling causes.
Scalp recovery
The scalp has been covered by wefts and adhesive for weeks, and it needs to breathe. Wash regularly with a gentle, sulfate-free shampoo to keep the scalp clean without over-drying. If you notice any irritation, redness, or flaking after removal, it is typically a reaction to the removal solvent or to the extended period of adhesive contact. A soothing scalp treatment — aloe vera gel or a gentle scalp serum — can calm irritation. If irritation persists beyond a few days, consult a dermatologist.
When to wait before reapplying extensions
The temptation to remove old extensions and apply new ones on the same day is strong — you want the length and volume back immediately. But the hair and scalp need a recovery period between removal and reapplication. The adhesive from the previous installation has been in contact with the cuticle for weeks, and the hair needs time to recover its natural oil balance and cuticle integrity before new adhesive is applied.
A minimum of 48 hours between removal and reapplication is recommended. During this period, wash the hair with clarifying shampoo to remove any residual solvent, deep condition, and let the hair rest. The scalp should be clean and free of any adhesive residue before new wefts are placed. If you noticed breakage during removal, wait at least one week to assess the extent of the damage before reapplying — applying new extensions over broken or thinning areas exacerbates the problem and can cause further traction damage.
Signs you should not remove extensions yourself
Home removal is safe for most people, but certain situations warrant professional help. If the extensions have been in place for more than 10 weeks, the adhesive has likely hardened beyond what home solvent can fully dissolve, and professional-strength solution and technique are needed. If the hair is severely matted at the bond points — a condition that occurs when extensions are not brushed regularly and shed hair accumulates into knots around the bonds — removal at home will cause significant breakage, and a professional can detangle and remove with minimal loss.
If you experience scalp pain, itching, or burning when you touch the bonds, you may have an adhesive allergy or sensitivity that requires professional assessment before removal. And if the wefts are not tape-in but a different method — fusion bonds, micro-links, or sewn-in wefts — the removal process is entirely different and should not be attempted with tape-in removal solution.
Removal is maintenance, not an ending
Removing tape-in extensions is not the end of the extension journey — it is the maintenance cycle that keeps the journey sustainable. Extensions that are removed carefully and reapplied with fresh adhesive can last through 2 to 3 cycles, spreading the initial investment across months of wear. Extensions that are removed hastily, with breakage and residue, create a cycle of damage that compounds with each application — thinner natural hair, weaker bonds, and a progressively less natural result. The difference between these two outcomes is not the quality of the extensions or the skill of the applicator — it is the patience of the remover. Thirty extra minutes of waiting for solvent to work, five extra minutes of checking for residue, and one deep conditioning treatment are all that separate a clean, damage-free removal from one that costs months of regrowth. The solvent does the work. Your only job is to let it.