Tape-in extensions at home: apply without salon errors
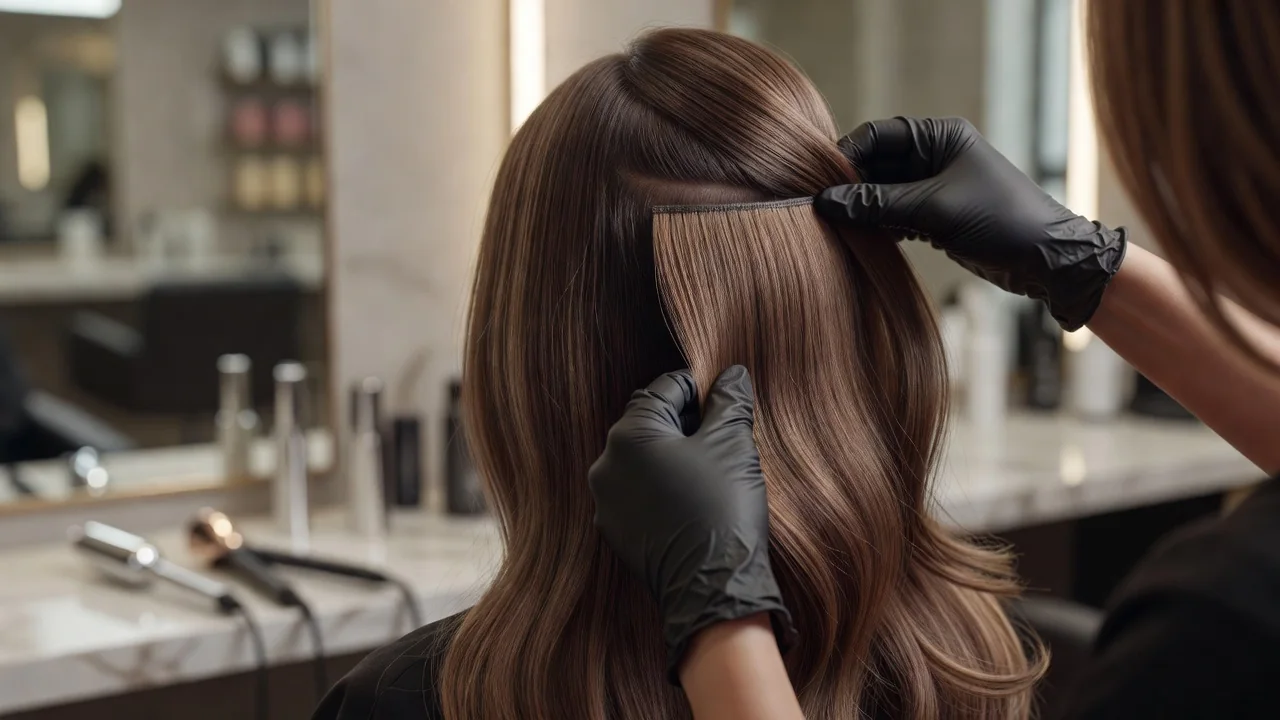
The first time you peel the backing off a tape-in weft and press it against your own hair, your hands will shake — not because the process is difficult, but because the stakes feel high. These wefts cost money, the adhesive is unforgiving for the first ten seconds, and the difference between a seamless, invisible install and a lumpy, visible mess comes down to technique that no amount of YouTube watching fully prepares you for until you are actually doing it. Salons charge $200 to $500 for tape-in application, and the reason is not that the process requires years of training — it requires precision, patience, and an understanding of a handful of principles that most home applicators learn through trial and error. The errors are the expensive part: misplaced wefts that show through the hair, bonds that slip within days because the natural hair was too thick or too oily, wefts placed too close to the hairline where they become visible the moment the wind blows. Every one of these mistakes is preventable, and the prevention begins with understanding what happens at the adhesive-hair interface the moment you press that weft into place.
What tape-in extensions actually are and how the adhesive works
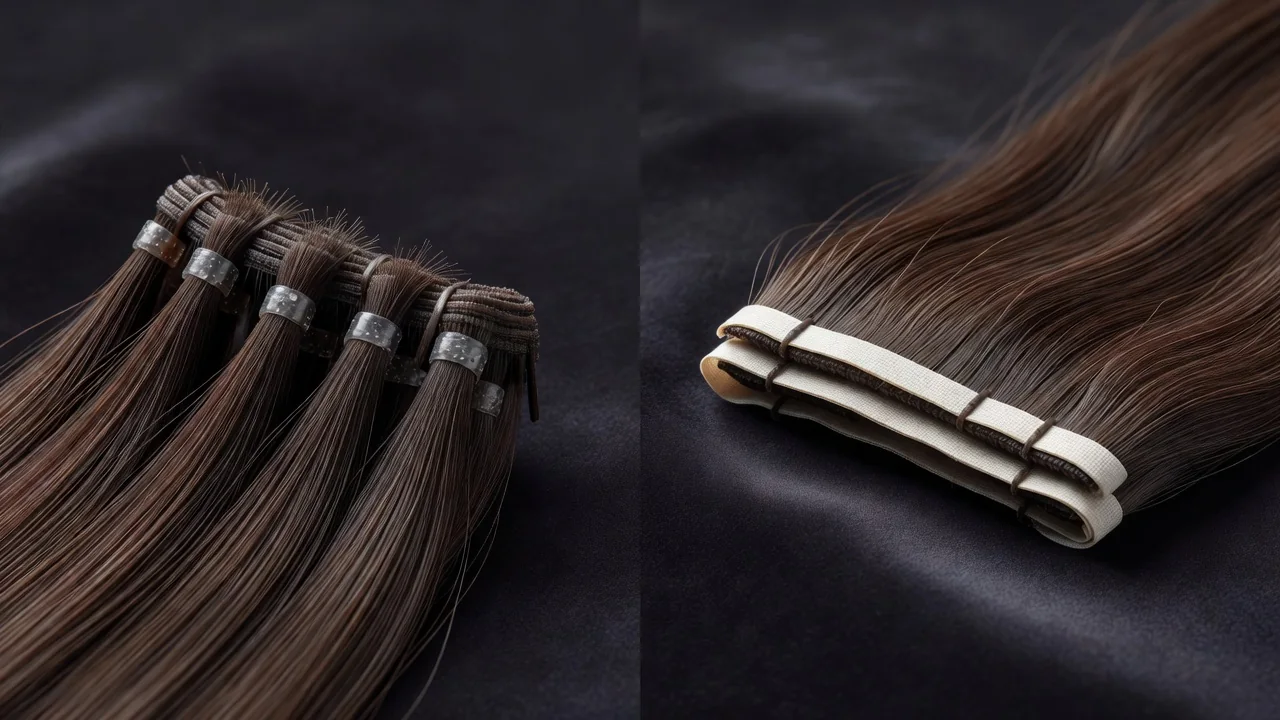
Tape-in extensions are wefts of human or synthetic hair, typically 1.5 to 2 inches wide, with a strip of pressure-sensitive adhesive along the top edge. The adhesive is not glue in the traditional sense — it is a medical-grade acrylic polymer that bonds to hair through a combination of pressure, surface contact, and heat activation. When you press the adhesive strip against clean, dry natural hair, the polymer conforms to the surface of each strand and creates a mechanical bond that strengthens over 24 to 48 hours as the adhesive fully cures.
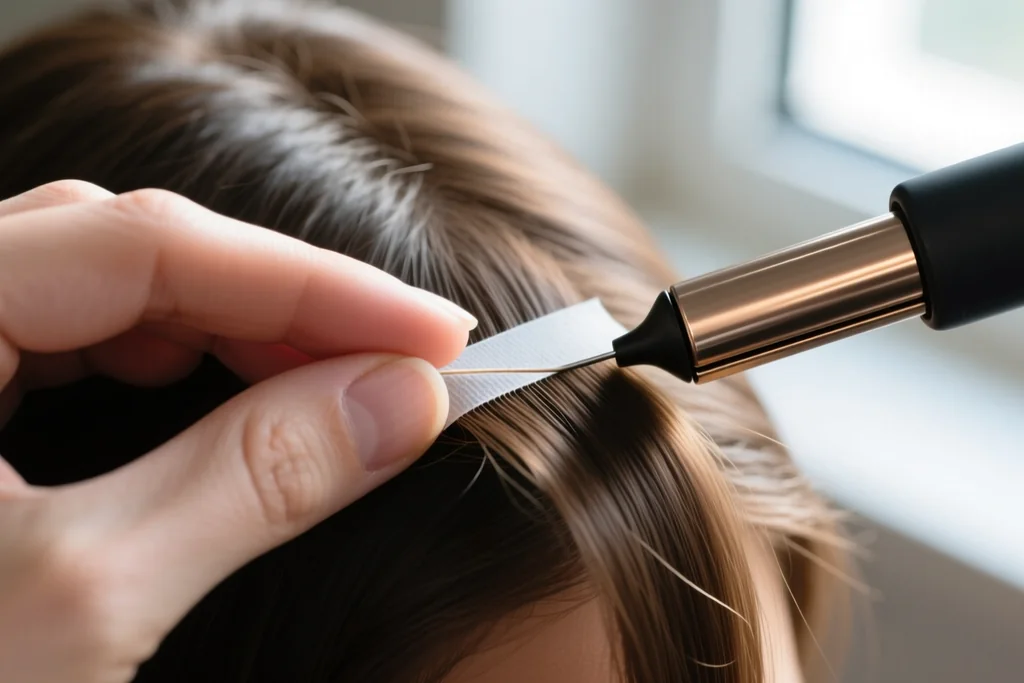
The bond's strength depends entirely on preparation. Any oil, conditioner, serum, or residue on the natural hair prevents the adhesive from making direct contact with the cuticle surface — and without that contact, the bond fails. This is the single most common reason tape-in extensions slip within the first week: the hair was not clean enough, not dry enough, or not free enough of product residue. A salon professional knows this instinctively because they have seen bonds fail. A home applicator learns it the hard way — after watching a weft slide out during a shower three days after application.
Choosing the right wefts for your hair type
Not all tape-in wefts are equal, and the choice of weft affects both the appearance and the longevity of the install. The three key variables are hair quality, weft width, and adhesive type.
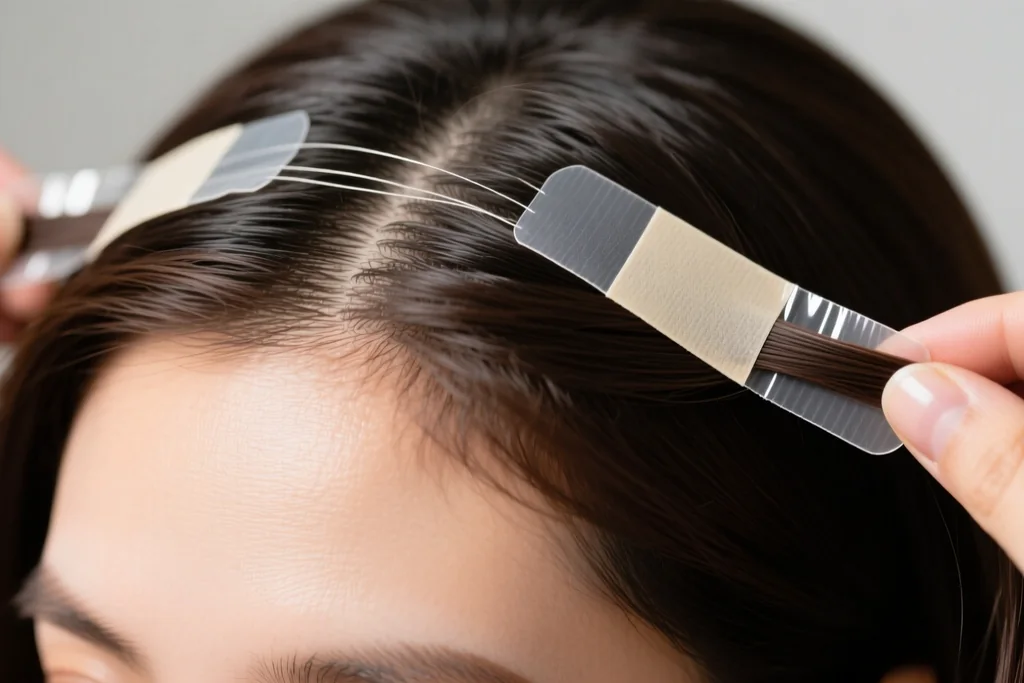
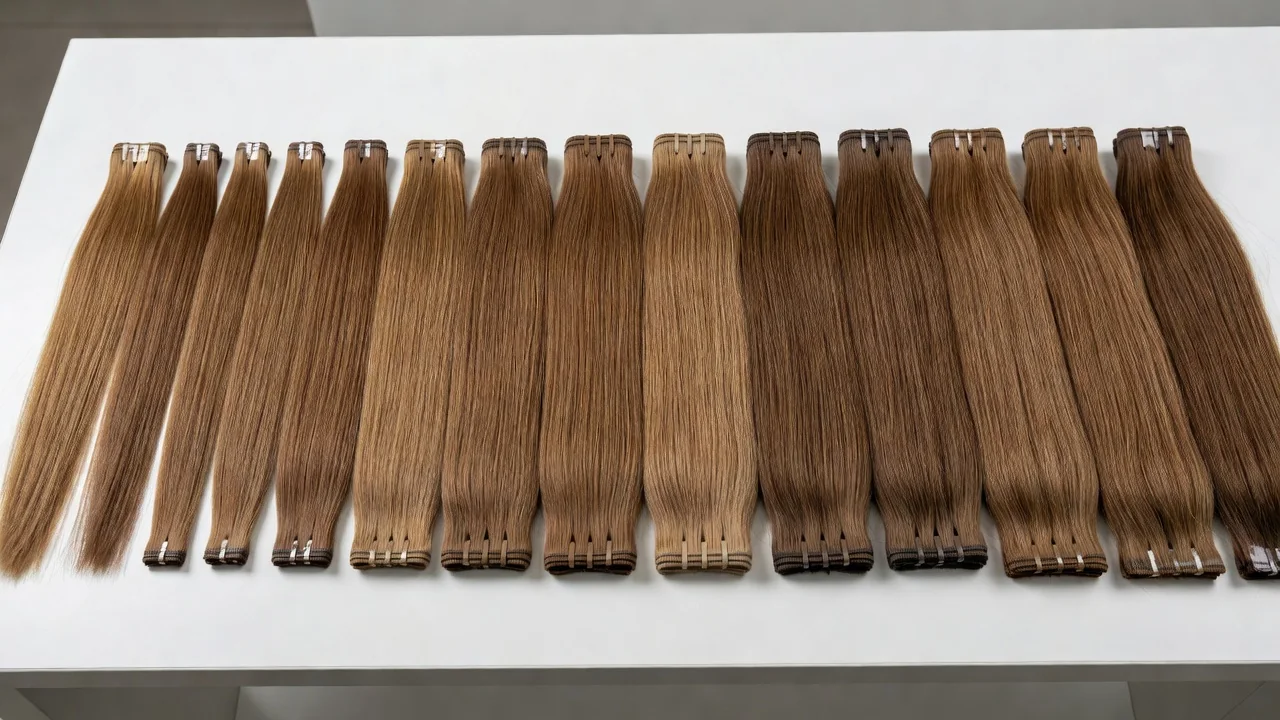
Human hair wefts — typically Remy or virgin hair — can be washed, styled with heat tools, and colored (within limits). They last 6 to 12 months with proper care and can be reapplied 2 to 3 times with replacement adhesive tabs. Synthetic wefts are cheaper, lighter, and pre-styled, but cannot be heat-styled and last 2 to 4 months. For a home application that aims to mimic a salon result, human hair is the only reasonable choice — synthetic hair will not blend with natural texture and will betray the install at the first close look.
Weft width matters for placement. Standard wefts are 1.5 inches wide, which works for most applications. Mini wefts (0.5 to 0.75 inches) are used for filling in specific areas — temples, crown, face-framing pieces — where a full weft would be too wide and visible. A complete install typically uses 20 to 40 standard wefts plus 4 to 8 mini wefts for detail areas.
Adhesive type is the variable that most home users overlook. Most wefts come with adhesive pre-applied, but the quality of that adhesive varies. Premium wefts use German or Korean adhesive that holds for 6 to 8 weeks. Budget wefts use adhesive that begins to weaken at 3 to 4 weeks. If you are applying at home and want the install to last, invest in wefts with high-quality pre-applied adhesive or buy replacement tabs from a reputable brand — the adhesive is the weakest link in the entire system.
Preparing your hair and workspace before application
Preparation is 80 percent of a successful tape-in application. The actual pressing of wefts takes 20 to 30 minutes; the preparation takes 45 to 60 minutes, and skipping any step in preparation is the most common cause of application failure.
Hair preparation: the non-negotiable steps
Your natural hair must be washed with a clarifying shampoo — not a moisturizing shampoo, not a sulfate-free shampoo, not a conditioning cleanser. A clarifying shampoo strips all oils, product residue, and mineral buildup from the hair cuticle, leaving the surface that the adhesive needs to bond to. Wash twice, focusing on the roots and mid-lengths where the wefts will be placed. Do not apply conditioner — anywhere. Conditioner coats the cuticle with a film that prevents adhesion, and even a trace of conditioner on the sections where wefts will be placed is enough to cause bond failure.
After washing, dry your hair completely. Not mostly dry — completely dry, with no residual moisture anywhere. The adhesive will not bond to damp hair, and even slightly damp sections will cause the weft to slip during the curing process. Use a blow dryer on a warm setting and take the time to ensure every strand is dry to the root. Do not apply any products — no heat protectant, no serum, no leave-in conditioner. Clean, dry, bare hair is the only acceptable surface for the adhesive.
Workspace preparation
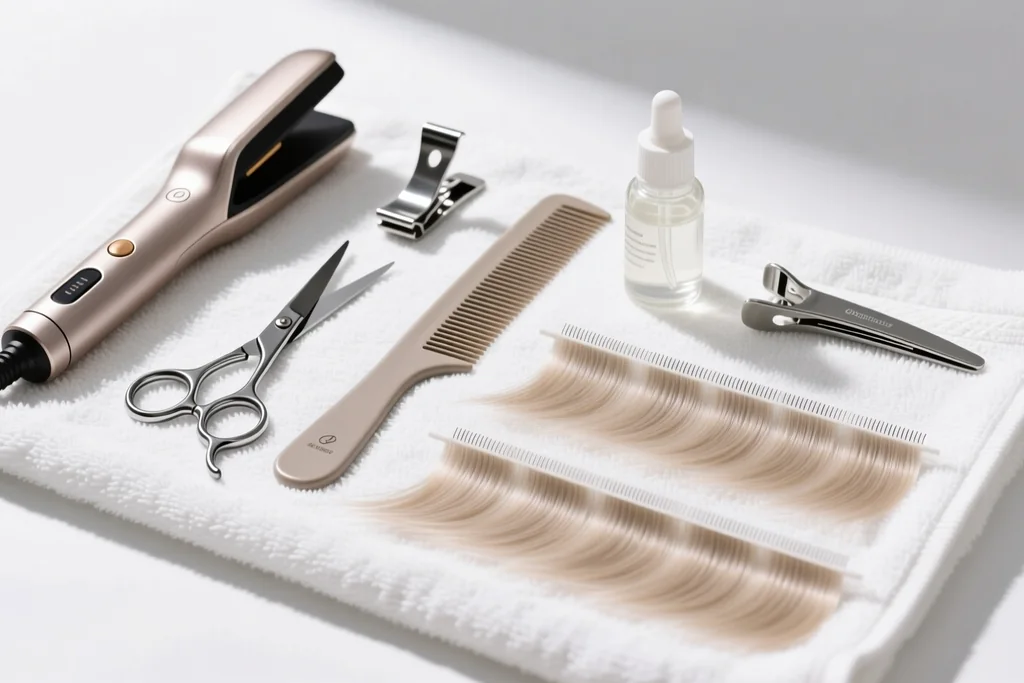
Set up your workspace before you begin. You need a mirror at face height and a second mirror behind you (or a hand mirror) to see the back of your head. A flat surface to lay out your wefts, organized by row. A comb with a fine tail for sectioning. Clips — at least six — to hold hair out of the way. A heating tool (a flat iron with smooth plates, set to medium heat, or a dedicated bond-heating tool) to activate the adhesive after placement. A timer or phone to track heating time per weft. Isopropyl alcohol and cotton pads for final cleaning of each section immediately before placement — even if you washed your hair, the natural oils produced in the time between washing and application are enough to weaken the bond.
Sectioning: the foundation of an invisible install
The sectioning pattern determines whether the extensions are visible or hidden. Proper sectioning creates rows of wefts that are covered by layers of natural hair above them, so that no weft is visible from any angle — not from the front, not from the sides, not from the back, and not when the hair is pulled up into a ponytail.
The first rule of sectioning is that every weft must have at least one inch of natural hair covering it above. This means the topmost row of wefts should be placed no higher than the temple area, with a layer of natural hair that falls over it. The second rule is that the sections must be thin — no thicker than the weft itself, which is typically 1 to 1.5 millimeters. A section that is too thick creates a bump that is visible through the hair and causes the weft to sit away from the scalp instead of lying flat.
To create a section, use the tail of the comb to draw a horizontal line across the back of the head, from one side to the other. The line should be clean and straight — not jagged or uneven, because the weft will follow the line and an uneven line creates an uneven placement. Clip all the hair above the line up and out of the way. The hair below the line is where the weft will be placed.
Step-by-step application process
The application process itself is methodical: section, clean, place, press, heat, repeat. Each weft follows the same sequence, and the consistency of the process is what creates a uniform, professional-looking result.
Step 1: Create the bottom row
Start at the nape of the neck, approximately one inch above the hairline. Draw a horizontal section across the back of the head. The section should be thin — the thickness of the weft itself. Clip the hair above the section up. The hair below the section (the hairline hair) can hang free — it will cover the bottom edge of the weft.
Wipe the section with isopropyl alcohol on a cotton pad. This removes any oil that has accumulated since washing. Wait five seconds for the alcohol to evaporate completely — the section must be dry before the weft is placed.
Peel the backing from one side of a tape-in weft. Place the weft adhesive-side up on the section, with the top edge of the weft aligned with the top of the section. The weft should sit flat against the scalp without lifting. Press firmly with your thumb for five seconds.
Step 2: Sandwich the natural hair
This is the step that separates a secure install from a slipping one. Take a second weft, peel the backing, and place it adhesive-side down on top of the natural hair, directly above the first weft. The two wefts sandwich the natural hair between them, with adhesive on both sides. The top weft's adhesive bonds to the natural hair from above, and the bottom weft's adhesive bonds from below. The sandwich creates a bond that is significantly stronger than a single-sided application.
Align the edges of the top and bottom wefts precisely — they should be mirror images of each other, with no overhang on either side. Misaligned wefts create visible edges and uneven weight distribution that causes the weft to twist over time.
Press the top weft firmly for ten seconds, ensuring full contact across the entire width of the weft. Then heat the bond with a flat iron set to medium heat (180 to 200 degrees Celsius) for three to five seconds per weft. The heat activates the adhesive polymer and increases bond strength by 30 to 50 percent. Do not skip the heating step — it is the difference between a bond that holds for six weeks and one that slips in six days.
Step 3: Build upward in rows
Move up one inch from the first row and create the second section. The one-inch gap between rows ensures that the wefts do not overlap and that there is enough natural hair between rows to cover each weft. Repeat the sectioning, cleaning, placing, and heating process for each weft in the row.
A typical full-head application uses four to five rows: one at the nape, two in the mid-back, one at the sides (temple to temple, around the occipital bone), and one at the crown for volume. The number of wefts per row varies: the bottom row may have 2 to 3 wefts, the mid-back rows 4 to 6 each, the side row 4 to 6, and the crown row 2 to 4.
Step 4: Place the side and face-framing wefts
The sides of the head — the area from the temple to behind the ear — are where tape-in extensions are most often visible. The hair is thinner on the sides, the wefts are closer to the hairline, and any misplacement is immediately noticeable. Use mini wefts on the sides, and place them no closer than one inch from the hairline. The natural hair in front of the weft must be thick enough to cover the weft completely — if you can see the weft when you pull your hair forward, it is too close to the hairline.
For face-framing volume, place two mini wefts on each side, staggered — one at temple height and one one inch below — to create a natural gradient of length and volume.
Step 5: The crown and top placement
The crown is the final placement area and the one that most affects the overall volume and blend of the install. Place wefts at the crown in a U-shaped pattern rather than a straight line — this follows the natural growth pattern of the hair and creates volume that looks organic rather than stacked. Leave at least one inch of natural hair above the crown wefts to ensure coverage.
Do not place wefts in the very top of the head or the front hairline. These areas are visible from every angle, and any weft placed here will show. The topmost weft should be no higher than the crown — the area where the head begins to curve downward at the back.
Common mistakes and how to avoid them
Even with careful preparation and placement, certain errors occur repeatedly in home applications. Recognizing these mistakes before making them saves time, money, and the frustration of redoing an install that could have been done correctly the first time.
Before starting your application, it helps to be aware of the most frequent errors that home users make and the specific steps that prevent each one.
Common tape-in application mistakes and how to prevent them:
- Placing wefts on hair with product residue — even a small amount of conditioner, serum, or natural oil on the section prevents the adhesive from bonding. The fix is absolute: wash with clarifying shampoo, dry completely, and wipe each section with alcohol immediately before placement.
- Taking sections that are too thick — a thick section creates a visible bump and causes the weft to sit away from the scalp. The section should be no thicker than the weft itself, roughly 1 to 1.5 millimeters. If you can see a ridge where the weft is placed, the section was too thick.
- Placing wefts too close to the hairline — wefts within one inch of the hairline at the front or sides are visible when the hair moves. Always leave at least one inch of natural hair in front of every weft, and use mini wefts for areas near the face.
- Misaligning the sandwich wefts — the top and bottom wefts must be perfectly aligned. Even a 2-millimeter offset creates a visible edge on one side. Take the time to align before pressing, and check alignment before heating.
- Skipping the heating step — heat activates the adhesive and increases bond strength by up to 50 percent. Without heat, the bond holds for 2 to 3 weeks instead of 6 to 8. Three to five seconds per weft with a medium-heat flat iron is all it takes.
- Placing wefts too close together — wefts placed less than one inch apart create bulk and prevent natural hair from lying flat between them. Maintain one inch of spacing between rows and between wefts within a row.
- Using too many wefts — an overstuffed install looks unnatural and places excess weight on the natural hair, causing traction and potential damage. A full install uses 20 to 40 wefts depending on hair thickness and desired volume — not more.
- Not checking from all angles — after placing each row, check from the front, sides, and back with a mirror. A weft that looks fine from the back may be visible from the side. Catching misplacement early allows correction before the next row covers it.
Avoiding these mistakes requires discipline, not skill. The technique of placing a weft is simple — peel, place, press, heat. The discipline of preparing perfectly, sectioning precisely, and checking constantly is what separates a salon-quality result from a home attempt.
The curing period: what to do and not do in the first 48 hours
The adhesive used in tape-in extensions reaches full bond strength 24 to 48 hours after application. During this curing period, the bond is vulnerable — not weak, but not yet at maximum strength. What you do in the first two days after application determines whether the install lasts six weeks or six days.
Do not wash your hair for 48 hours. Water weakens the adhesive during the curing period, and even a cool, gentle wash can cause bonds to slip. Do not use heat tools — the flat iron or curling iron near the bonds can soften the adhesive before it has fully cured. Do not apply any products — no dry shampoo, no serum, no oil, nothing. Do not pull the hair into a tight ponytail or bun — tension on the wefts during curing can shift them out of alignment.
Do sleep with your hair in a loose braid — this prevents tangling and keeps the wefts from pulling against each other during sleep. Do brush gently with a loop brush, starting from the ends and working upward, avoiding the bond area. Do check each weft the morning after application by running your fingers along the bond — if any weft lifts, press it back down and reheat with the flat iron for three seconds.
Maintenance and daily care
After the curing period, the install enters the maintenance phase — the period of daily care that determines how long the wefts last and how natural they continue to look. Maintenance is not complicated, but it requires consistency and a few changes to your normal hair routine.
To keep your tape-in install looking salon-fresh for the full six to eight weeks, a structured daily and weekly care routine is essential.
Daily and weekly maintenance routine for tape-in extensions:
- Brush twice daily with a loop brush — a loop brush has bristles that loop back into the brush rather than ending in a pointed tip, which prevents snagging on the bond. Start at the ends and work up to the roots, avoiding direct contact with the adhesive tabs.
- Wash every 2 to 3 days, not daily — frequent washing breaks down the adhesive faster. When you wash, use sulfate-free shampoo applied to the roots only, and let the suds run down the length of the extensions. Do not scrub or rub the wefts.
- Never apply conditioner above the ear line — conditioner on or near the bonds dissolves the adhesive. Apply conditioner only to the mid-lengths and ends of the hair, below where the lowest weft is placed.
- Dry the bonds completely after washing — do not leave the hair to air-dry if you have wefts near the nape. Blow-dry the root area on a cool to warm setting until the bonds are completely dry. Moisture trapped in the bonds causes adhesive breakdown and odor.
- Sleep with hair in a loose braid or low ponytail — loose braiding prevents tangling and matting at the bond area, which is the most common cause of premature removal. Never sleep with wet extension hair.
- Avoid oil-based products entirely — oils dissolve acrylic adhesive. This includes argan oil, coconut oil, dry oils, and oil-based serums. If you use a styling product, ensure it is water-based and apply it only to the ends.
- Schedule a check at week 3 — by the third week, some wefts may have loosened, especially around the nape and sides. Press any loose wefts back down and reheat with a flat iron. If a weft has slipped entirely, remove it and reapply with a new adhesive tab.
- Plan removal or reapplication at week 6 to 8 — tape-in extensions should not be worn beyond 8 weeks. The natural hair grows, the bonds move away from the scalp, and the weight of the wefts on grown-out hair causes traction and breakage. Remove, clean, and reapply with fresh adhesive.
Consistency in this routine is what keeps the install looking natural and the natural hair healthy underneath. The home applicator who follows this routine gets 6 to 8 weeks of wear from each install and can reuse the wefts 2 to 3 times — effectively amortizing the cost of the hair across multiple applications.
Removal: how to take out tape-ins without damaging your hair
Removal is the step that causes the most anxiety — and the most damage when done wrong. The adhesive is designed to hold for 6 to 8 weeks, and it does not release easily. Pulling a weft out without dissolving the adhesive first will pull out natural hair, break strands at the bond point, and cause pain.
The only safe removal method is with a dedicated adhesive removal solution. These solutions — typically citrus-based or alcohol-based — break down the acrylic polymer and release the bond without pulling. Apply the solution generously to the bond area, wait 2 to 3 minutes for it to penetrate, and gently slide the weft downward. If the weft does not slide easily, apply more solution and wait another minute. Do not force removal — a weft that resists is still bonded, and forcing it will damage the natural hair.
After all wefts are removed, wash your hair with clarifying shampoo to remove any residual adhesive solution. Comb through with a wide-tooth comb to remove any shed hair that was trapped under the wefts — it is normal to see significant shedding during this step, because the wefts hold natural shed hair that would normally fall out daily. This is not breakage — it is accumulated shed hair being released.
How home application compares to salon application
The question that most home applicators eventually ask is whether the money saved is worth the difference in result. The honest answer depends on the person and the situation.
To help evaluate whether home application is the right choice, it is useful to compare the key dimensions of home and salon application side by side.
Each approach to tape-in application has distinct trade-offs in cost, quality, and convenience that become clear when compared directly.
| Dimension | Salon application | Home application |
|---|---|---|
| Cost per application | $200–$500 (labor only) | $0 (your time, 60–90 min) |
| Weft cost | Same (you or salon buy wefts) | Same |
| Quality of placement | High (trained, practiced) | Variable (improves with each attempt) |
| Access to back of head | Full (stylist sees it directly) | Limited (requires two mirrors) |
| Speed | 45–60 minutes | 60–90 minutes (first time: 2+ hours) |
| Mistake recovery | Quick (stylist fixes immediately) | Slower (you notice later, fix yourself) |
| Product knowledge | High (stylist recommends wefts, placement) | Self-taught (research required) |
| Reapplication | Salon charges each time | Free after initial weft purchase |
| Risk of damage | Low (professional technique) | Moderate (improves with practice) |
| Best for | First-time users, complex placements | Experienced users, maintenance reapplications |
The comparison reveals a clear pattern: salon application is superior for first-time users and for anyone with complex placement needs — thin hair, specific thinning patterns, or short hair where precision is critical. Home application becomes viable and economical for users who have had at least one salon application, understand the placement pattern that works for their head, and are doing reapplication with wefts they already own. The cost savings of home application are realized across multiple applications — the first home application may take two hours and involve mistakes, but the third and fourth are done in an hour with confidence.
What to buy: a shopping list for your first home application
The investment in tools and wefts for home application is front-loaded — you buy everything once, and subsequent applications only require replacement adhesive tabs. Knowing exactly what to buy prevents the common mistake of starting with incomplete supplies and improvising.
Before placing your first order, make sure you have everything needed for application, maintenance, and removal — buying it all at once avoids mid-application stops and ensures a complete, professional setup.
Complete shopping list for your first tape-in home application:
- Tape-in wefts (human Remy hair, 20–40 pieces) — the quantity depends on your hair thickness and desired volume. Fine hair needs 20–25 wefts; medium to thick hair needs 30–40. Match the color as closely as possible — if you are between shades, buy the lighter shade and tone it, since coloring lighter is always easier than lifting darker.
- Replacement adhesive tabs (1 pack of 10–20) — even if your wefts come with adhesive pre-applied, you will need replacement tabs for reapplication. Buy the same brand as your wefts for compatibility.
- Adhesive removal solution (1 bottle) — citrus-based or alcohol-based, specific for tape-in extensions. Do not substitute with household solvents — they damage the hair wefts and irritate the scalp.
- Loop brush (1) — a specialized brush with looped bristles that prevents snagging on bonds. A regular paddle brush will catch on the adhesive tabs and pull them out.
- Fine-tooth comb with tail (1) — for sectioning. The tail is used to draw clean, precise horizontal lines for weft placement.
- Sectioning clips (6–8) — strong clips that hold hair securely out of the way during application. Duckbill clips are ideal because they hold large sections flat against the head.
- Flat iron with smooth plates (1) — for activating the adhesive after placement. Any basic flat iron works — you do not need a premium styler, just smooth plates and adjustable temperature set to 180–200 degrees Celsius.
- Isopropyl alcohol (1 bottle) and cotton pads — for final cleaning of each section immediately before placement. This is the step that most home kits do not include and that makes the biggest difference in bond strength.
- Two mirrors (1 wall-mounted, 1 hand-held) — you cannot apply extensions to the back of your head without seeing what you are doing. A wall mirror plus a hand mirror positioned to reflect the back of the head is the minimum setup.
- Clarifying shampoo (1 bottle) — for pre-application washing and post-removal washing. A clarifying shampoo is different from a regular shampoo — it is formulated to strip all residue and prepare the hair surface for adhesion.
Having all of these supplies ready before you begin eliminates the most common source of home application errors: stopping mid-application to find a missing tool, during which time the prepared sections accumulate oil and the adhesive on peeled wefts begins to dry. A complete, organized setup is the foundation of a clean, efficient, and successful application.
The first install is the hardest — and the most important to get right
Every person who has successfully applied tape-in extensions at home remembers their first time — the shaking hands, the three hours it took instead of one, the weft that was placed slightly too high and had to be removed and reapplied with a fresh adhesive tab. They also remember the second time, which took 90 minutes and had no mistakes. And the third time, which took 60 minutes and looked better than the salon application they had paid $300 for. The learning curve is real but short — one full application is enough to understand the technique, and two are enough to develop the muscle memory that makes the process efficient. The key is to approach the first application not as a test of skill but as a learning process — to take the time, to check each step, and to accept that perfection on the first attempt is not the goal. The goal is a secure, invisible install that lasts six weeks — and that goal is achievable for anyone willing to prepare carefully, section precisely, and follow each step without skipping the unglamorous work of cleaning and pressing that makes the difference between extensions that look like your own hair and extensions that look like extensions.